The Essential Guide to Choosing the Perfect Cycling Water Bottle Cage
Share
Introduction: Why Every Cyclist Needs a Reliable Bottle Cage
If you’ve ever gone for a long bike ride and found yourself dehydrated, you already understand the importance of having water within easy reach. Staying hydrated isn’t just about comfort — it’s about safety, endurance, and performance. And when you’re on two wheels, a cycling water bottle cage becomes your best friend.
A good bottle cage keeps your drink secure on bumpy rides, lets you grab it without stopping, and ensures you never have to risk riding one-handed for too long. But with so many options out there, how do you choose the perfect one? Let’s break it down.
1. Why a Bottle Cage is a Must-Have
- Hands-Free Convenience – You can quickly grab your bottle mid-ride without fumbling.
- Hydration on the Go – Prevents fatigue and overheating on long rides.
- Safety – Avoids the need to store your bottle in a bag or pocket, which can be dangerous.
- Organization – Keeps your bike setup clean and efficient.
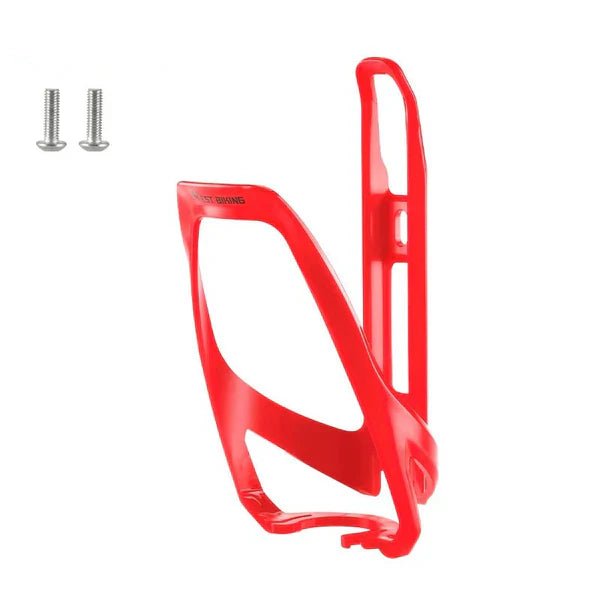
2. Material Matters
The material of your cage affects its weight, durability, and grip.
- Aluminum – Lightweight, affordable, and durable.
- Carbon Fiber – Ultra-light for racers, absorbs road vibration.
- Stainless Steel – Very strong and rust-resistant.
- Plastic/Composite – Lightweight and flexible but less durable than metal.
3. Fit & Compatibility
Not every bottle cage fits every bike. Consider:
- Frame Size – Smaller frames might need side-entry cages for easier access.
- Bottle Size – Make sure your bottle fits snugly without rattling.
- Mounting Holes – Most bikes have standard mounts, but check before buying.
4. Secure Grip vs. Easy Access
You want your bottle to stay put — but also be easy to grab. The perfect cage strikes the balance:
- Tight Enough – Holds your bottle securely on bumpy terrain.
- Flexible Enough – Allows smooth in-and-out movement without forcing it.
5. Road Cycling vs. Mountain Biking
Different cycling disciplines demand different features:
- Road Cycling – Lightweight cages with quick access for hydration at speed.
- Mountain Biking – Stronger cages with a tighter grip to prevent bottle loss on rough trails.
6. Installation Tips
- Use the pre-drilled holes on your bike frame.
- Tighten bolts securely but avoid over-tightening.
- Test the cage with your bottle before your first long ride.
7. Caring for Your Bottle Cage
- Clean regularly to remove dust and grit.
- Check screws periodically to prevent loosening.
- Replace if bent or cracked.
8. Bonus Features to Look For
- Side-entry cages for compact frames.
- Adjustable cages for different bottle sizes.
- Color and design to match your bike aesthetics.
Final Thought
A cycling water bottle cage may seem like a small accessory, but it plays a huge role in your ride comfort, hydration, and safety. Choose one that fits your riding style, install it correctly, and you’ll wonder how you ever rode without it.
FAQs
Q1: Do I need a bottle cage for short rides?
Not necessarily, but it’s always handy for unexpected thirst.
Q2: Can I install more than one cage on my bike?
Yes, if your bike frame has the mounts. Many touring bikes have space for two.
Q3: Will a cage scratch my bottle?
Some metal cages can leave marks, but most high-quality cages have protective coatings.
Q4: Do all cages fit all bottles?
Most fit standard cycling bottles, but always check measurements.